Candle Making Basics
Complete Beginner's Guide to Candle Making
A disciplined foundation for first-time makers: understanding how wax, wick, fragrance, and vessel operate as a unified combustion system.
A disciplined foundation for first-time makers: understanding how wax, wick, fragrance, and vessel operate as a unified combustion system.
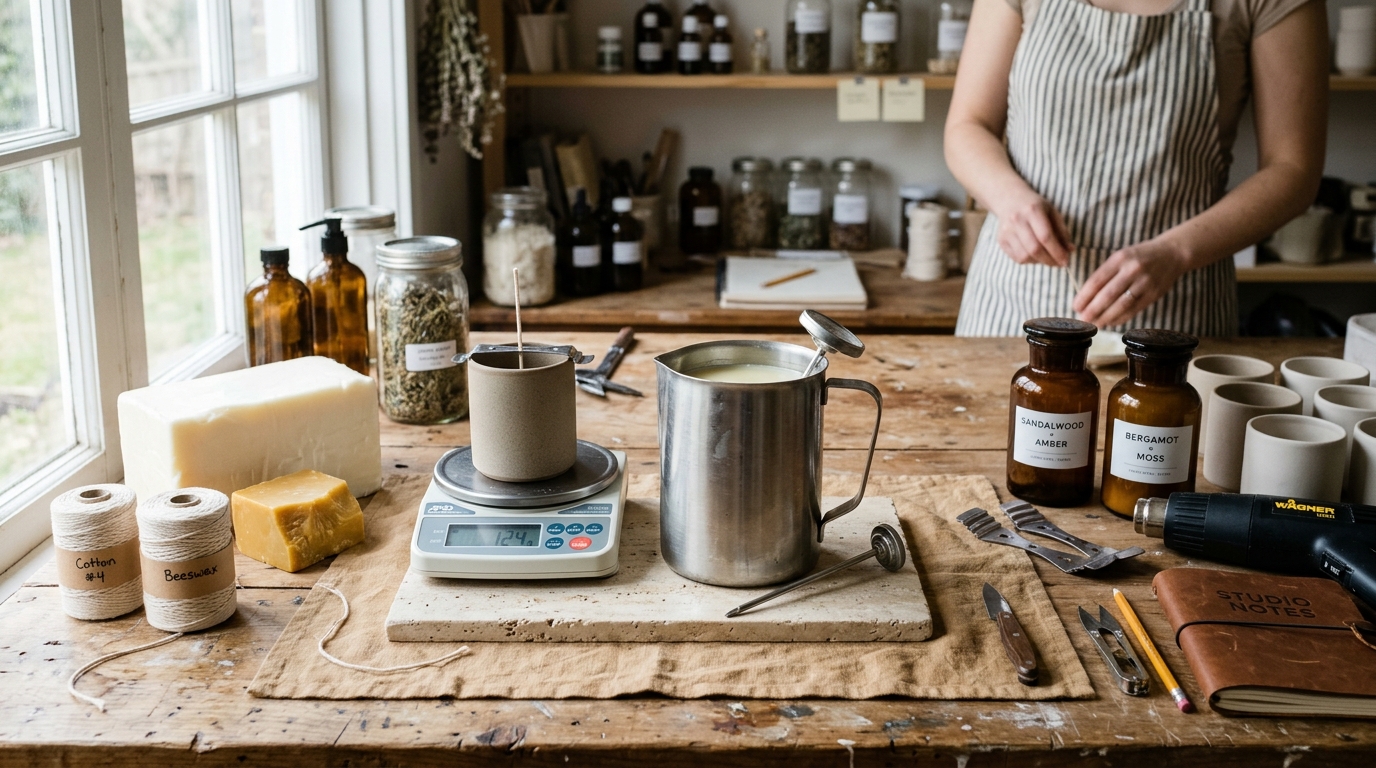
01. Treat Every Candle as an Engineered System
A candle is not merely melted wax poured into a decorative jar. It is a self-regulating thermal and fluid system composed of four interdependent variables: the wax fuel, the capillary wick, the fragrance/dye load, and the vessel geometry.
Changing any single variable alters the behavior of the others. Switching from a 70 mm clear glass tumbler to a 75 mm stoneware mug, or switching from a light botanical scent to a dense resinous fragrance oil, changes melt-pool viscosity and radiant heat transfer—requiring fresh wick validation.
02. Measure Everything by Weight, Never by Volume
Solid wax flakes occupy far more volume than melted liquid wax, and fragrance oils vary in specific gravity (density). Using measuring cups or teaspoons introduces severe formulation errors.
Professional candle makers weigh every ingredient in grams or ounces on a calibrated digital scale with at least 0.1 g to 1 g resolution.
03. The Seven-Step First Batch Workflow
Start with an uncolored, single-wick container candle using a well-documented commercial container wax (such as a single-pour soy or coco-soy blend) paired with heat-resistant glassware rated for candle use.
- Clean and dry the vessel thoroughly; secure a tabbed wick centered on the vessel floor using a high-temperature wick sticker and stabilize the top with a centering bar.
- Calculate wax and fragrance quantities using exact mass ratios (see our Fragrance Load Calculator).
- Melt wax in a stainless steel pouring pitcher over a water bath (double boiler) or dedicated wax melter, monitoring continuously with a calibrated thermometer.
- Incorporate fragrance oil at the temperature specified on your wax manufacturer Technical Data Sheet (TDS) and stir gently for 90–120 seconds without whipping air.
- Pour smoothly at the TDS-specified pour temperature into room-temperature or gently warmed vessels.
- Allow undisturbed cooling in a draft-free room (20–24°C / 68–75°F) for 24 hours, then trim the wick to ~6 mm (1/4 in).
- Cure according to wax type (typically 7–14 days for natural vegetable waxes) before conducting timed 4-hour test burns.
Practical example
title
Worked Example: First 200 g Test Candle at 8% Fragrance Load
scenario
You want to pour one sample candle using 185 g of base soy container wax at an 8% fragrance load (industry standard: % of wax weight).
steps
- Weigh 185.0 g of wax flakes into a tared stainless steel pitcher.
- Calculate fragrance weight: 185.0 g × 0.08 = 14.8 g of candle-safe fragrance oil.
- Total poured mixture weight equals 185.0 g + 14.8 g = 199.8 g.
- Melt, incorporate at TDS temperature, pour, cool 24 hours, and log the date on the jar base.
Common mistakes
- Guessing fragrance volume with pipettes or spoons instead of weighing on a tared gram scale.
- Testing a candle after only 24 hours of cure and assuming hot throw has failed prematurely.
- Leaving melting wax unattended on direct stove burners instead of using a double boiler.
- Skipping burn tests through the final third of the container where thermal buildup peaks.
Safety considerations
- Never heat candle wax directly over an open gas flame or uncovered coil burner; wax vaporizes and can flash-ignite.
- Keep a Class B or ABC dry-chemical fire extinguisher (never water) accessible in your work area.
- Only pour into vessels certified for thermal shock resistance (never repurposed wine bottles, thin drinking glasses, or porous unsealed pottery).
Frequently asked questions
Can I use essential oils instead of fragrance oils as a beginner?
You can, though pure essential oils often have lower flash points, higher cost, subtle hot throw, and strict IFRA dermal/inhalation caps. Synthetic/natural-isolate candle fragrance oils are engineered specifically for combustion stability.
How long must a beginner wait before burning a newly poured candle?
Wait at least 24 hours for basic solidification safety, and ideally 7–14 days for vegetable waxes (soy, rapeseed, coconut blends) so crystal structure and scent equilibrium mature before evaluating hot throw.